
I’ve been creating mods for Animal Crossing: New Leaf for just over half a year now and whenever I post online my newest creations I always get asked how I make them so I’ll be sharing how I create texture modifications. 🙂
What You’ll Need
Firstly, you’ll need a modded console and/or an emulator with a ROM of AC:NLWA to actually use your own mods and test if they’re running – but if you’re reading this guide then I’m obviously assuming you have this already.
You’ll also need a PC with CTRStudio installed. You can use other applications to edit texture files like OhanaRebirth for example, but for this guide we will be sticking to CTRStudio as it’s a very powerful editing tool for the 3DS.
You will need NET 6 installed on your PC as well, this is required as CTRStudio uses it to run.
You’ll also need AC:NL dumped RomFS but don’t worry, I’ll be sharing how to do this in this guide. If you’re using my method to dump RomFS you’ll need to have Citra/Azahar on your computer with a ROM of Animal Crossing: New Leaf.

How to Dump RomFS in Citra/Azahar
Open Citra/Azahar and right click on it and then click on dump ROMFS.

And you’re done after it’s finished dumping! It’s super easy to do using Citra. You can find your dumped RomFS folder via:
C:\Users\[your pc’s name]\AppData\Roaming\Citra\Dump\romfs
To access AppData/Roaming do this: Windows key + R (at the same time), type in %AppData% and hit enter and then find the directory mentioned above.
What Do All of These Files Mean…?
There is a lot of folders inside the dumped RomFS folder, these are all neatly sorted into different things. Some of them are obvious, like fish is fish textures/models and etc but some aren’t. Most of the time I have to have to take a deep dive into the folders to find what I’m looking for because there’s so many folders and files.
I’ve prepared a little list below help you memorise what some of the folders are and what they contain, but not everything is listed here as I haven’t gone through everything myself. 🙂
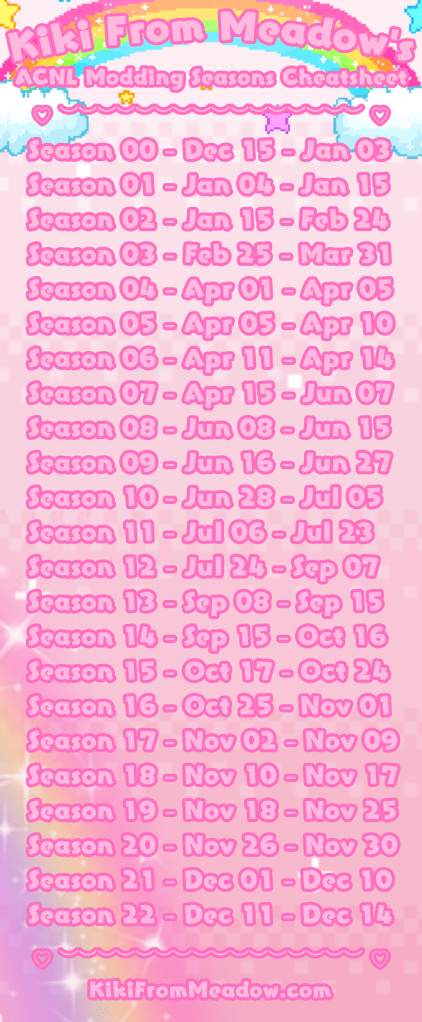
Trees, flowers, bushes, rocks (flora related items), etc are all located in Fg > Brces > seasons 0-22. In order to find a specific season/month you’ll need to use the bushes’ flowers to find out what specific timeframe you’re in. See my cheat sheet guide below for this.
Items on the ground are located (like eggs, presents, etc) in Fg > Brces > (Inside/Outside).
Public Works Projects are located in Strc > Fobj > (Name of your chosen PWP).
Villagers are located in NPC > Normal > Model
Special NPCS (such as Isabelle, Tom Nook, etc) are located in NPC > Special > Model
Furniture, clothing, accessories, shoes, etc are located in Item > Model
Refurbished furniture is located in Ftr > Remake > Texture
Player’s Face is located in Player > Face_Tex
Main Street Buildings are located in Strc > Dobj > *Building Name*
Town buildings are located in Strc > Sobj > *Building Name*
As I mentioned above, not everything is listed here. It’s recomended to look through all of the dumped RomFS files to familarise yourself with everything and where to locate specific things.
Flora Cheatsheet Guide
I have made a picture “cheat sheet” guide for the Fg seasons files in case you would like to make a flora related mod for a specific season.
Editing Textures & Applying Them
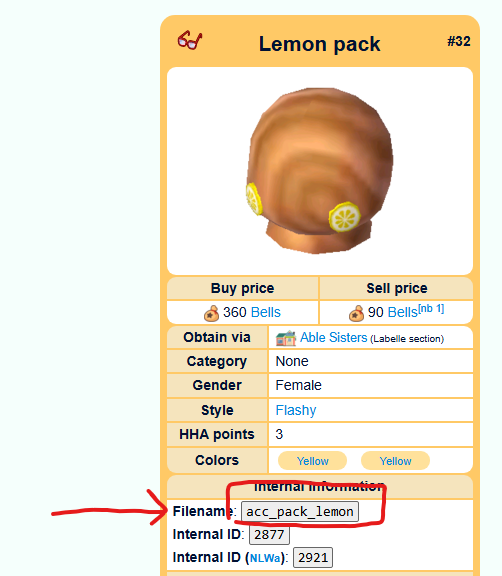
After dumping the RomFS and locating your file that you want to edit the textures of, open CTRStudio. For this tutorial I’ll be recolouring the lemon pack.
A tip regarding looking for the file name of accessories, furniture, etc is to look up the name of the thing you would like to edit on the wiki followed by “new leaf”, so in this case “lemon pack accessory new leaf”. Nookipedia usually has the internal ID for AC:NL and ACNL:WA and the filename in it’s description
You can now search in the correct directory for the item you want using this tip. 🙂
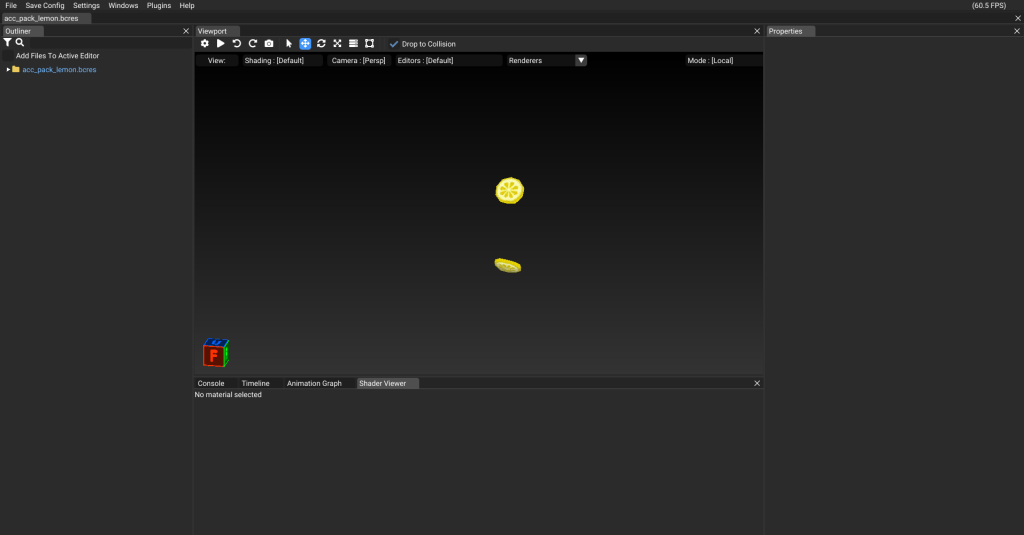
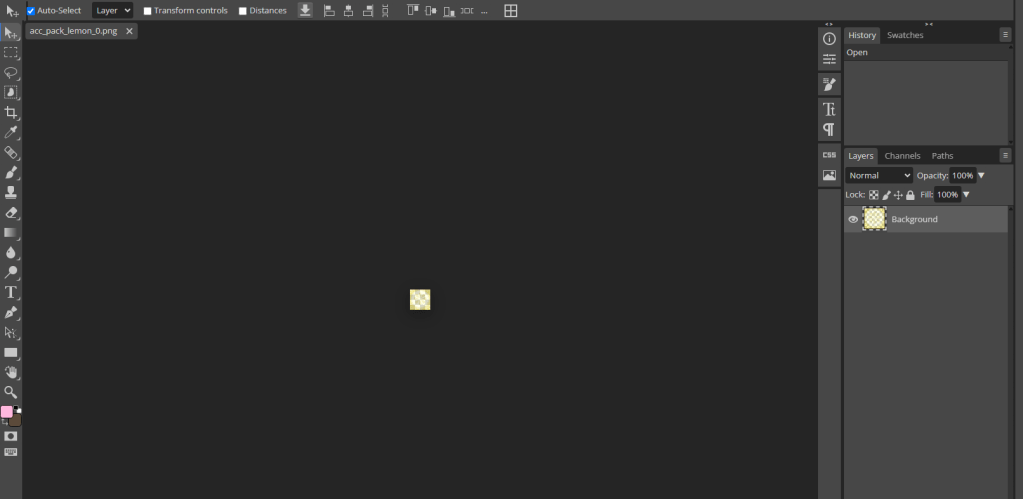
This is what you’ll be greated by when you import the file into CTRStudio.
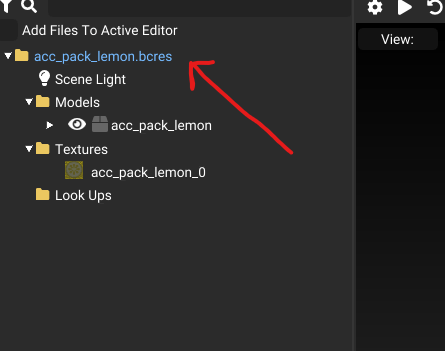
To view the model’s information, click on the folder icon at the top.
If you click on the texture image you can preview the texture to the right side alongside any information about the texture.
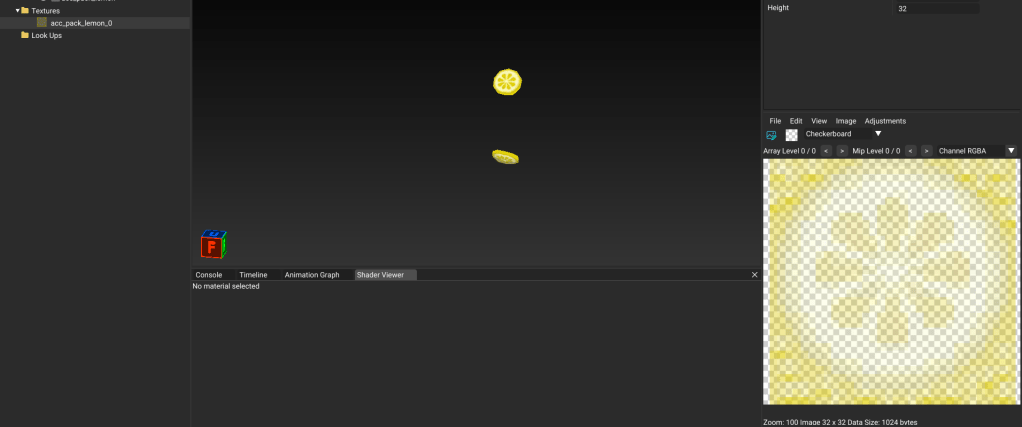
Above the image in CTRStudio you can also make changes in there too. I (admittedly) don’t really use any of this currently apart from changing the mip maps level and the option from checkerboard to a different colour if I’m unable to see the texture well.
You will notice that pretty much, if not all, AC:NL textures will be somewhat transparent like how they are in my screenshots from CTRStudio. Sometimes when you can modifications to textures, for example flowers, and if the colour isn’t transparent then the finished product may look a bit “blocky” in game.

To get started with texture editing, export the image and save it somewhere safe onto your PC. I like to save all of my textures into a “textures” folder in a modding directory on my PC. 🙂
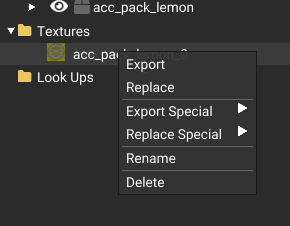
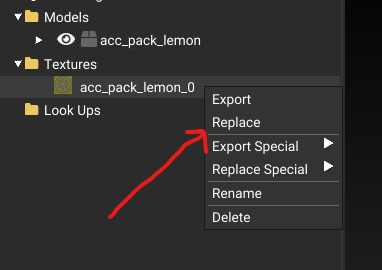
You can export the texture from the method in the GIF above or right click on the texture file on the left side of the interface and select “export”.
To make changes to the texture you can use any software you’d like. I like to use photopea to make changes and edit textures for all of my work but another good free software to use is Paint.NET. After you’ve found a software you’d like to use, import the textures.
Another thing you will probably notice as well is how small the textures are.
The 3DS is very sensitive so most of the textures are quite small. Most (not all) acccessories, for example, are capped at 32×32 for their image size. The best way to find out what the safe limit is for that is to look at the image size of the original image in CTRStudio and not change the size at all.
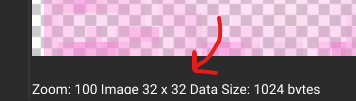
Emulators like Azahar or Citra generally speaking are more powerful than the 3DS so the cap can be raised up to 64×64 but it’s recommended to keep the size as the original size.
For my tutorial, I’ll be recolouring this lemon to pink. I’ll be doing that by changing the image’s hue.

After you’ve finished making your changes to the texture save it and then we’re ready to return to CTRStudio.
Right click on the texture file on the left side of the interface and click on “replace”. Replace that original texture with the texture you edited.
After clicking on the replacement image for your texture, a window will pop up and will like this.
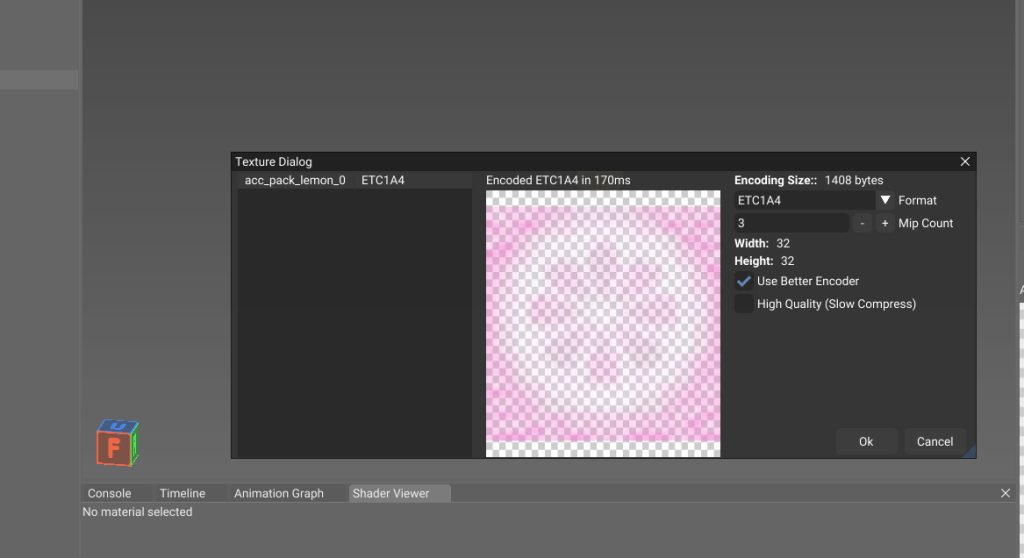
It’s recommended to keep the mip count for the mip maps under 4 as having it above that can cause in game issues. After you’re happy with that, click on “Ok” to preview your model with your edited textures in the viewport.
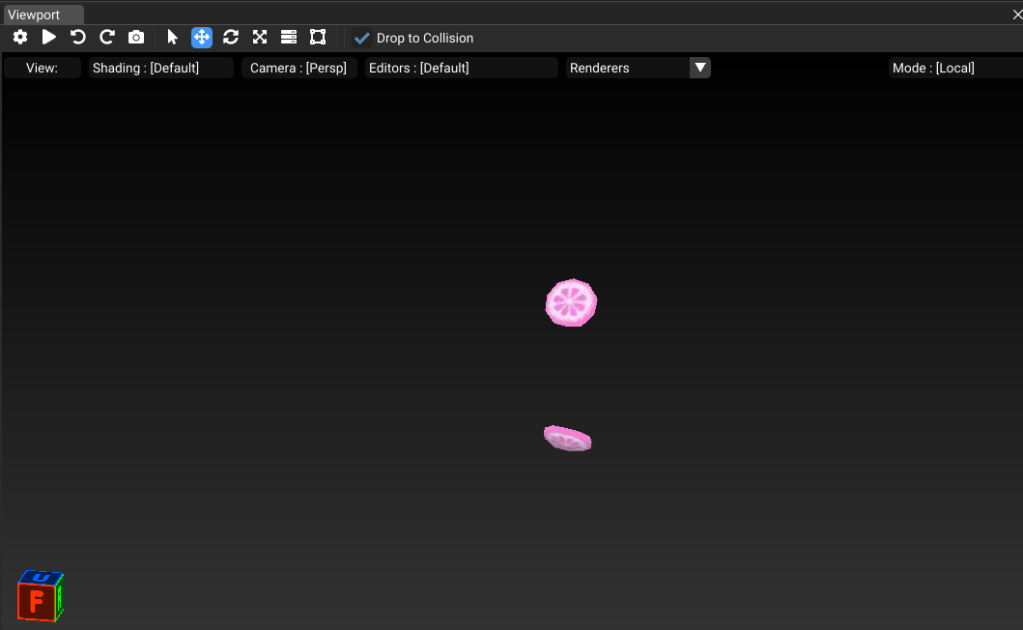
Tada! Our yellow slices for our face are now a beautiful pink colour. Once you’re happy with that, save the file!
Congratulations! You’ve officially successfully made your first texture edited mod. 🙂
How to Use The Mod
After creating the mod you’ll need to set up a mod directory to make it work on either your emulator or console. This is very easy and won’t take more than 30 seconds at most to do.
Rememeber how you found your file that you edited in the first replace? We’re basically going to create that exact same directory now.
First, create a RomFS folder called “romfs”. It needs to be in all lowercase to work.

For this next step it will depend on what specific file you edited. I will be using my example to help you understand this more clearly.
I edited the lemon pack accessory during this tutorial. The file was found in romfs > Item > Model so because it was found there, we will be creating that exact same directory layout.

There should only be your mod inside of this folder unless it’s a public works project or whatnot that is related to the mod.
After creating that directory you’re finished! For information on how to install any texture mod you’ve made please refer to my written guide here.
If you need any help at all in terms of this guide or have any questions at all feel free to reach out via my Tumblr “ask me anything” or via my Discord server.
